Introduction to Carbon Fiber 3D Printing on K1C
Carbon fiber 3D printing K1C. So you’ve got a Creality K1C and you’re thinking about diving into carbon fiber 3D printing. Smart move — but let’s have an honest conversation first.
Carbon fiber 3D printing on the K1C is one of those topics that sounds glamorous on YouTube but comes with a very real learning curve. The K1C was literally designed with this in mind — the “C” in the name literally stands for “Carbon” — but that doesn’t mean you can just load up a spool of carbon fiber filament, hit print, and walk away with a perfect part.
The reality? With the right preparation, the right hardware, and dialed-in settings, the K1C produces genuinely impressive carbon fiber prints. Parts that are lighter than standard PLA, noticeably stiffer, and with that unmistakable matte industrial finish. But without proper setup, you’ll be pulling clogs out of your hotend and wondering why you ever thought this was a good idea.
This guide is based on real hands-on experience and walks you through everything: nozzle upgrades, filament selection, settings, common problems, and whether the whole thing is actually worth your time and money. No fluff, just the practical stuff.
What Makes Carbon Fiber Filament Special
Before we get into machine specifics, let’s quickly understand what you’re actually working with when you pick up a spool of carbon fiber filament.
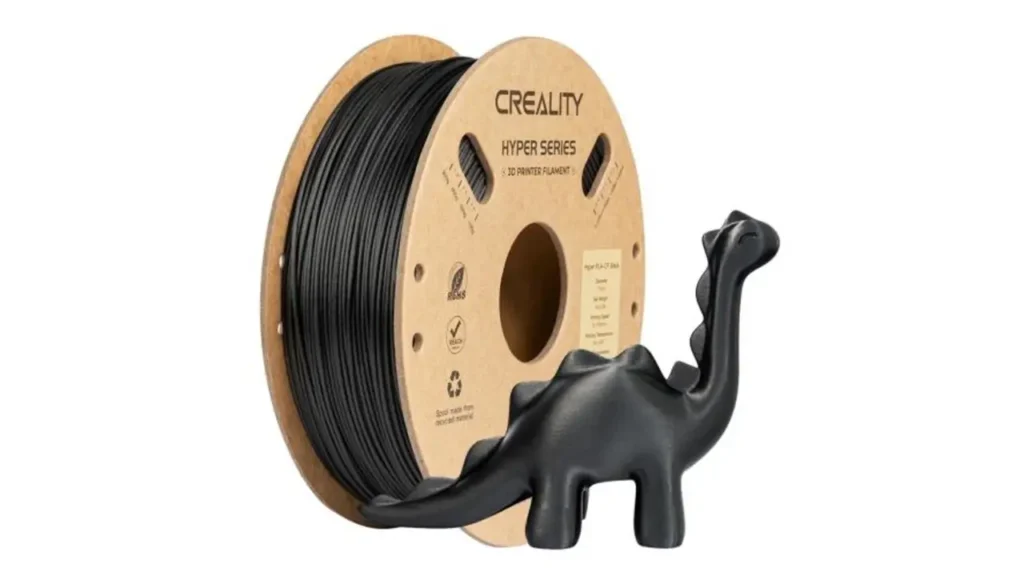
Carbon fiber filament is not pure carbon fiber. It’s a composite — a base polymer (usually PLA, PETG, ABS, Nylon, or PA) with short chopped carbon fiber strands mixed in, typically at around 15–30% by weight. Those carbon fiber strands are what give the material its signature properties.
Here’s what that means in practice:
| Property | Standard PLA | CF-PLA | CF-PETG |
|---|---|---|---|
| Stiffness | Moderate | High | Very High |
| Weight | Standard | Lighter | Lighter |
| Surface Finish | Smooth/glossy | Matte, textured | Matte, textured |
| Abrasiveness | Very low | Extremely high | Extremely high |
| Heat Resistance | Low (~60°C) | Low–Moderate | Moderate (~80°C) |
| Nozzle Wear | Minimal | Destroys brass fast | Destroys brass fast |
| Price per kg | ~$20–$30 | ~$35–$60 | ~$40–$70 |
The big story here is abrasiveness. Those carbon fiber strands act like tiny pieces of sandpaper running through your nozzle every single second of a print. A standard brass nozzle, which ships with most FDM printers, simply cannot survive this. We’ll talk about that more in the hardware section.
The carbon fiber PLA vs PETG printing debate is also worth a quick note here. CF-PLA is easier to print, more beginner-friendly, and produces very stiff parts. CF-PETG offers better layer adhesion, slightly more flexibility, and better moisture resistance. For functional parts that need to handle stress or mild heat, CF-PETG pulls ahead. For display models, prototypes, or structural brackets, CF-PLA is perfectly great.
Creality K1C
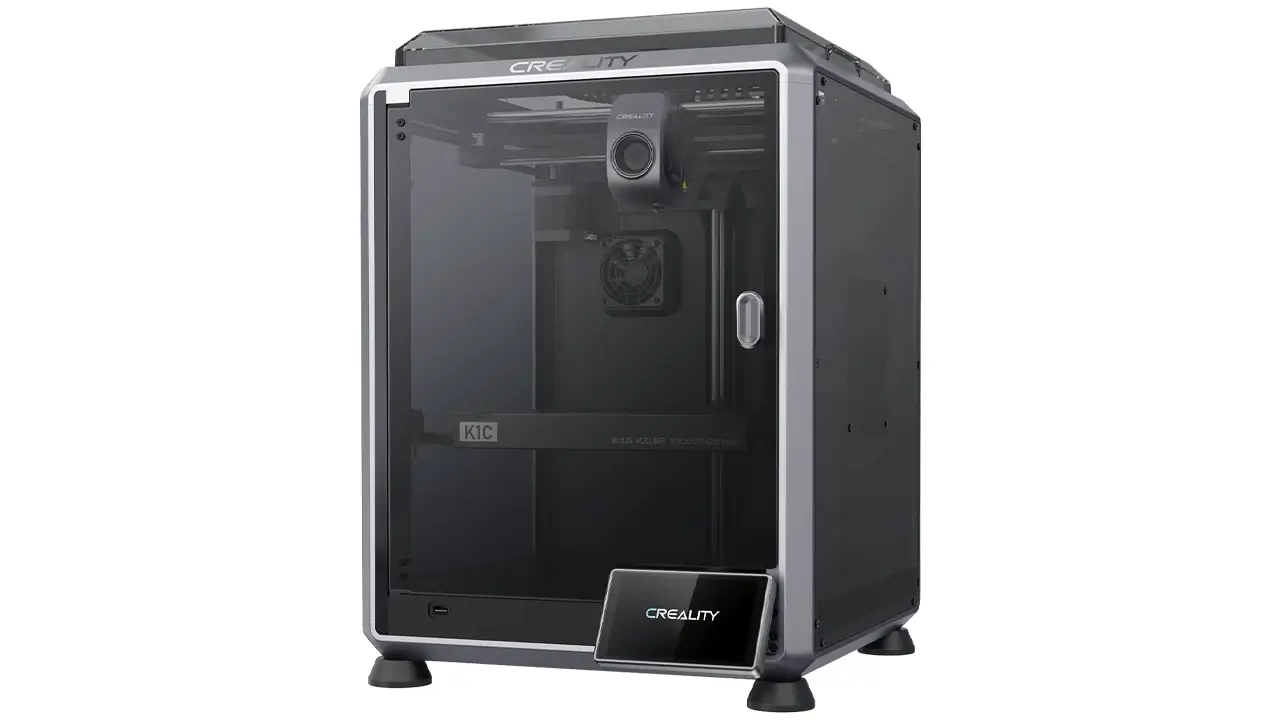
High-speed CoreXY 3D printer from Creality with carbon fiber compatibility. Advanced Klipper firmware, auto-leveling, and enclosed design for professional-grade printing with engineering materials.
- • CoreXY High-Speed
- • Carbon Fiber Ready
- • Klipper Firmware
- • Enclosed Design
Is the K1C Ready for Carbon Fiber Out of the Box?
This is the question everyone asks, and the honest answer is: mostly yes, but with one important caveat.
Creality designed the K1C specifically to address carbon fiber and abrasive filament printing. Here’s what the machine brings to the table from day one:
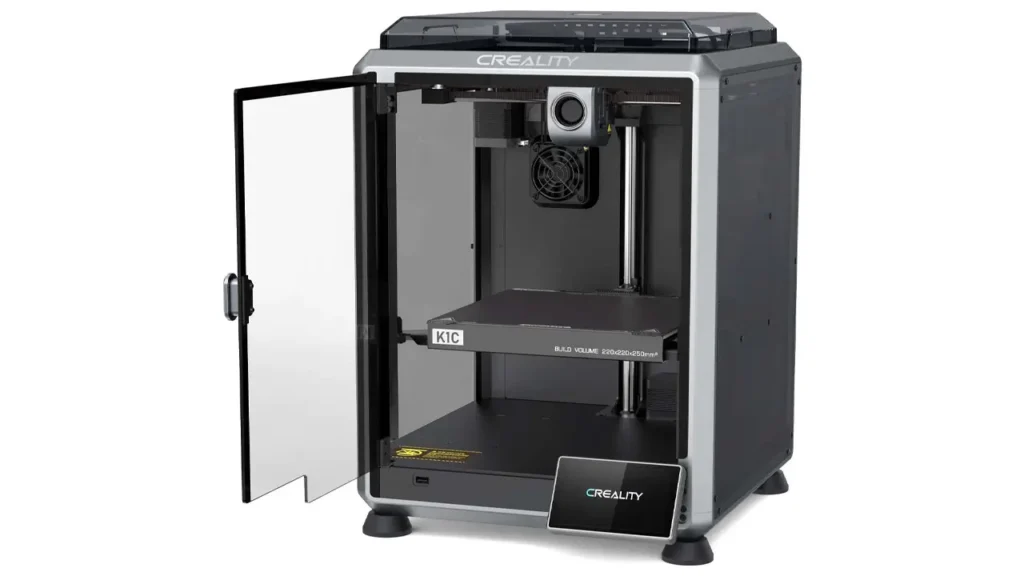
The K1C ships with a hardened steel nozzle already installed — this is a huge deal and something the standard K1 does not have. It runs a direct drive extruder with a ceramic heating block rated to 300°C, which covers virtually every CF composite filament on the market. The enclosure is fully enclosed, helping maintain ambient temperature consistency during longer prints. The build plate supports PEI-coated magnetic surfaces, and the machine has a rated max print speed of 600mm/s with a recommended speed of 300mm/s.
So on paper, yes — the K1C is built for this.
Where things get nuanced: the stock hardened steel nozzle that ships with the K1C is a 0.4mm diameter nozzle. Carbon fiber composites technically print better through a 0.6mm nozzle because the chopped fiber strands can partially restrict flow through smaller orifices. Creality acknowledges this — 0.6mm hardened nozzles are available as official accessories. You’re not required to upgrade immediately, but if you’re printing anything with significant infill or wall thickness, the 0.6mm nozzle will give you noticeably better flow consistency and fewer partial clogs.
The second thing to note is the extruder. The K1C uses a dual-gear direct drive system that handles CF filaments better than Bowden setups, but CF filaments are also more brittle than standard filaments. Too much retraction and you risk snapping filament at the gear — a frustrating mid-print failure mode. More on that in the settings section.
The enclosure is a real advantage for CF-ABS and CF-Nylon printing specifically, where ambient temperature matters a lot for layer adhesion and warping. For CF-PLA, the enclosure matters less, but it still helps.
Bottom line: the K1C is the most accessible consumer printer for carbon fiber work at its price point. It’s not fully plug-and-play, but it’s closer than anything else in the sub-$600 range.
Essential Hardware Upgrades
K1C Hardened Steel Nozzle Upgrade
Let’s start with the single most important thing: your nozzle.
If you print carbon fiber through a brass nozzle, you will destroy it. Not gradually — we’re talking potentially within the first 100–200 grams of filament. The carbon fiber strands mechanically abrade the nozzle bore from 0.4mm to 0.5mm, then 0.6mm, then beyond. The result is inconsistent extrusion, poor layer adhesion, under-extrusion on fine details, and eventually, a nozzle that’s basically useless.
The K1C ships with a hardened steel nozzle, which is excellent news. Hardened steel is the standard recommendation for CF filaments because it has dramatically higher wear resistance than brass. Creality’s official hardened steel nozzle for the K1C is rated to withstand extended abrasive filament printing and is compatible with the ceramic heating block.
For the K1C nozzle for carbon fiber work, your options are:
| Nozzle Type | Material | CF Lifespan | Notes |
|---|---|---|---|
| Brass 0.4mm | Brass | Hours | Do not use with CF |
| Hardened Steel 0.4mm | Hardened Steel | Months–Years | Ships with K1C, good starting point |
| Hardened Steel 0.6mm | Hardened Steel | Months–Years | Recommended for CF, better flow |
| Ruby-tipped 0.4mm | Brass body, Ruby tip | Very long | Premium, expensive, best thermal |
Other Hardware Considerations
Build Surface: The stock PEI spring steel plate works well with CF composites, though some users prefer to add a light layer of glue stick for CF-Nylon to prevent bed adhesion issues.
Filament Drying: This is non-negotiable. Carbon fiber composite filaments are hygroscopic — they absorb moisture from the air. Wet filament produces rough, bubbly surfaces, poor layer bonding, and a distinctive crackling sound during printing. A dedicated filament dryer (set to 65°C for CF-PLA, 70–75°C for CF-PETG) run for 4–6 hours before printing makes a measurable difference.
Enclosure Management: For CF-ABS and CF-Nylon, keeping the enclosure door closed during printing is important. For CF-PLA and CF-PETG, it’s less critical but still beneficial.
Polimerukr.com
Ukraine
3D Printing Materials & Supplies
Your trusted source for high-quality 3D printing materials in Ukraine. Wide selection of filaments, resins, and accessories for all printer types with fast local shipping.
Best Filaments for K1C
Not all carbon fiber filaments are created equal, and for Creality K1C carbon fiber printing, brand and formulation matter.
Here are the categories worth considering, with notes on each:
CF-PLA (Carbon Fiber PLA) The most beginner-friendly CF option. Prints at temperatures very similar to regular PLA (215–230°C hotend, 55–65°C bed), requires no enclosure, and produces rigid, lightweight parts. Ideal for prototypes, props, brackets, and cosmetic parts. The main downside is that PLA’s inherent heat sensitivity doesn’t go away — CF-PLA still softens around 55–60°C.
CF-PETG (Carbon Fiber PETG) A step up in functional performance. Better layer adhesion than CF-PLA, slightly more impact resistance, and better moisture resistance. Prints at 240–260°C hotend, 70–85°C bed. Slightly trickier to get first layer adhesion right, but the results are worth it for functional parts.
CF-ABS (Carbon Fiber ABS) Higher heat resistance than the above. Requires the enclosure to be fully closed and ideally a chamber temperature above 40°C. More prone to warping. Rewarding for the right applications but has a steeper learning curve.
CF-Nylon (Carbon Fiber Nylon/PA) The most demanding but most impressive performer. Exceptional strength-to-weight ratio, good impact resistance, and solid heat resistance. Requires aggressive drying (moisture ruins this filament fast), high temperatures (250–280°C hotend), and a heated enclosure. Not a first CF print — work up to this one.
Recommended brands worth looking into include eSUN, Polymaker, Bambu Lab (their filament works fine on the K1C), and Fiberon. Each publishes their own print settings which serve as excellent starting points.
Optimal Print Settings
Getting carbon fiber filament settings for the K1C right is where most users either succeed or give up. Here’s a practical breakdown.
Temperature Settings
| Filament Type | Hotend Temp | Bed Temp | Enclosure |
|---|---|---|---|
| CF-PLA | 215–230°C | 55–65°C | Open or closed |
| CF-PETG | 240–260°C | 70–85°C | Closed preferred |
| CF-ABS | 240–260°C | 90–110°C | Closed, 40°C+ chamber |
| CF-Nylon | 250–280°C | 70–90°C | Closed, heated chamber |
K1C Enclosure Temperature Settings
For CF-ABS and CF-Nylon specifically, the K1C enclosure temperature settings matter significantly. The K1C does not have active chamber heating, but running the bed at full temperature with the enclosure closed will naturally heat the chamber to approximately 40–50°C, which is sufficient for CF-ABS. For CF-Nylon, some users add a small supplemental heater, though this voids warranty protections and should only be attempted with proper safety awareness.
Print Speed
The K1C’s 600mm/s maximum speed is impressive, but carbon fiber filaments benefit from slower printing. Here’s a general guideline:
- Perimeters/Outer Walls: 80–150mm/s
- Infill: 150–250mm/s
- First Layer: 20–30mm/s (always slow, regardless of filament)
- Top/Bottom Layers: 60–100mm/s
Running too fast creates visible layer inconsistency and reduces inter-layer bonding strength. The chopped fiber strands need sufficient melt time and pressure to flow evenly.
Retraction Settings
This is critical for CF filaments. Carbon fiber composites are brittle compared to standard filaments. Excessive retraction distance will snap the filament between the gears. Recommended starting points for the K1C direct drive setup:
- Retraction Distance: 0.5–1.0mm (not the 4–6mm you might use with Bowden)
- Retraction Speed: 30–45mm/s
Cooling
CF-PLA: Moderate cooling (50–70% fan speed) CF-PETG: Low cooling (0–30% fan speed) — too much cooling hurts layer adhesion CF-ABS / CF-Nylon: Minimal to no part cooling fan
Real Print Quality Results
So what do you actually get at the end of a successful print?
The surface finish of carbon fiber composite prints is distinctive — matte, slightly textured, and with visible micro-fiber texture on exterior walls. It doesn’t look like injection-molded plastic. It looks manufactured, technical, intentional. Many users actually prefer this aesthetic for mechanical parts.
Dimensional accuracy is excellent on the K1C with CF filaments, generally within ±0.2mm on well-calibrated machines. The stiffness of CF composites means less thermal expansion distortion during cooling compared to standard polymers.
Strength is where CF prints genuinely shine. Compared to standard PLA or PETG, CF composite parts resist bending and deflection noticeably better. They feel rigid in hand in a way that standard FDM prints typically don’t. However, it’s important to understand that layer adhesion (Z-strength) is still the weak point in any FDM print — CF composites are no exception. A well-printed CF-PETG part is very strong in the XY plane but still splits more easily along layer lines under impact.
Layer adhesion in K1C carbon fiber print quality is strongly influenced by temperature and speed. Higher hotend temperatures (toward the top of the recommended range) and slower speeds both improve layer fusion. The difference between a 220°C CF-PLA print and a 230°C CF-PLA print at the same speed is visible and measurable.
Common Problems and Fixes
Even with the right setup, things go wrong. Here are the most common issues in Creality K1C carbon fiber printing and how to address them.
Clogging
Cause: Partially melted CF composites, or fiber strands bridging across the nozzle bore. Fix: Increase hotend temperature by 5–10°C. Slow print speed. If using 0.4mm nozzle, consider upgrading to 0.6mm. Perform a cold pull to clear partial clogs.
Carbon Fiber Warping Issues
Carbon fiber warping issues in 3D printing are most common with CF-ABS and CF-Nylon. The thermal contraction of the base polymer causes edges to lift.
Fix: Ensure bed temperature is correct. Close the enclosure to maintain ambient heat. Use a brim (5–10mm) on large flat parts. Apply glue stick to the PEI plate for difficult materials. First layer squish should be slightly more aggressive than with standard filaments.
Stringing
Cause: Too high temperature, insufficient retraction. Fix: Lower temperature by 5°C. Increase retraction speed slightly (but don’t increase distance much — risk of snapping). Enable “Combing” mode in Creality Print or Orca Slicer to minimize travel over open spaces.
Poor Layer Adhesion
Cause: Temperature too low, speed too high, moisture in filament. Fix: Dry filament before printing. Increase hotend temperature. Reduce print speed. Check that cooling fan isn’t set too high for the material.
Filament Grinding/Snapping
Cause: Too much retraction for a brittle CF filament, or extruder tension too high. Fix: Reduce retraction distance. Check extruder arm tension — CF filaments need less grip pressure than flexible materials.
| Problem | Most Likely Cause | First Fix to Try |
|---|---|---|
| Clogging | Temp too low / speed too high | Raise temp 5–10°C |
| Warping | Enclosure open / bed too cold | Close enclosure, add brim |
| Stringing | Temp too high | Lower temp 5°C |
| Poor adhesion | Wet filament | Dry filament 4–6 hrs |
| Filament snapping | Too much retraction | Reduce retraction to 0.5–1mm |
| Rough surface texture | Wet filament or worn nozzle | Dry filament, inspect nozzle |
Step-by-Step: How to Print Carbon Fiber on K1C
Here’s a practical, repeatable workflow for how to print carbon fiber on the K1C. Follow this every time and you’ll avoid 80% of the common failure modes.
Step 1: Dry Your Filament Before anything else, dry your CF filament. 65°C for CF-PLA (4 hours minimum), 70°C for CF-PETG (6 hours), 80°C for CF-Nylon (8–12 hours). Use a dedicated filament dryer or a food dehydrator with temperature control. This single step prevents more print failures than any settings tweak.
Step 2: Inspect and Prepare Your Nozzle Verify you’re using a hardened steel nozzle — not brass. For CF work, the 0.6mm hardened steel nozzle is recommended for best results. Clean the nozzle with a cold pull using regular PLA before switching to CF filament.
Step 3: Prepare the Build Surface For CF-PLA and CF-PETG: clean PEI plate with IPA, allow to cool before applying filament. For CF-ABS and CF-Nylon: apply a thin layer of glue stick to the PEI plate after cleaning. Let it dry to a matte finish.
Step 4: Set Up Your Slicer Use Creality Print or Orca Slicer (Orca Slicer has excellent K1C profiles). Select the appropriate CF filament profile. Key settings to verify: hotend temperature (material-specific), bed temperature, retraction 0.5–1mm, print speed outer walls 80–150mm/s, first layer 20–30mm/s, appropriate cooling settings for your material.
Step 5: Run First Layer Calibration Don’t skip this. CF filaments with slightly different flow characteristics than the standard filament you’re calibrated for. Run a first-layer calibration print (a simple 100x100mm square at 0.2mm height) before committing to a long print.
Step 6: Start Print and Monitor First 3–5 Layers Watch the first few layers carefully. You want consistent extrusion lines, no gaps between lines, clean corners. If you see inconsistency, pause and address it before it compounds.
Step 7: Post-Processing (Optional) CF composite parts can be lightly sanded with 220-grit sandpaper for a smoother surface, though many users prefer the natural matte texture. These parts do not respond well to acetone smoothing (that’s an ABS-only technique). They can be drilled, tapped, and machined much like conventional engineered plastics.
Final Verdict: Is It Worth It?
After everything — the nozzle considerations, the settings tuning, the filament drying discipline — is carbon fiber 3D printing on the K1C worth it?
Yes. With clear caveats about who should dive in.
It’s absolutely worth it if you:
- Need functional parts that are stiffer and lighter than standard PLA/PETG
- Are printing mechanical brackets, enclosures, drone components, RC parts, or engineering prototypes
- Are comfortable spending some time on initial setup and settings calibration
- Already own a K1C (the “C” stands for Carbon for a reason — it’s built for this)
It might not be worth it if you:
- Are looking for plug-and-play results without any setup effort
- Primarily print decorative models where standard PLA gives perfectly good results
- Are not comfortable with hardware maintenance (nozzle changes, cleaning)
- Are on a tight budget and the premium cost of CF filament is a factor
The K1C is the most well-prepared consumer printer in its price class for carbon fiber work. Creality’s decision to ship it with a hardened steel nozzle, a 300°C-capable hotend, and a full enclosure removes the biggest barriers. The machine is not perfect out of the box — the 0.6mm nozzle upgrade is worth doing early — but with the workflow outlined in this guide, you can be producing high-quality carbon fiber prints within your first or second session.
Start with CF-PLA to get your settings dialed in, upgrade to CF-PETG once you have a feel for the material behavior, and work toward CF-Nylon only when you’re ready to commit to the additional prep work it demands. Take it step by step, and the K1C will reward you with prints that genuinely feel different — stronger, stiffer, more professional — than anything you’ve done with standard filaments.
That matte black finish on a freshly completed CF part? There’s nothing quite like it.
Creality K1C
High-speed CoreXY 3D printer from Creality with carbon fiber compatibility. Advanced Klipper firmware, auto-leveling, and enclosed design for professional-grade printing with engineering materials.
- • CoreXY High-Speed
- • Carbon Fiber Ready
- • Klipper Firmware
- • Enclosed Design
🇺🇸 John Miller — ⭐⭐⭐⭐⭐
Excellent article about carbon fiber printing on the K1C. Clear, practical, and based on real experience, not theory. I especially liked the detailed settings and nozzle recommendations. This site is quickly becoming my go-to resource for 3D printing insights.
🔗 https://bestchina3dprinters.com/
🇪🇸 Carlos Rodríguez — ⭐⭐⭐⭐⭐
Muy buen contenido sobre impresión con fibra de carbono en la K1C. Explican todo de forma clara y útil, incluso para usuarios intermedios. Me gustaron los consejos sobre filamentos y configuraciones. Sitio altamente recomendado.
🔗 https://bestchina3dprinters.com/
🇸🇦 أحمد العتيبي — ⭐⭐⭐⭐⭐
مقال رائع ومفيد جداً حول الطباعة بألياف الكربون باستخدام K1C. الشرح واضح والتجربة حقيقية، وهذا ما يميز الموقع. أنصح به لكل مهتم بالطباعة ثلاثية الأبعاد.
🔗 https://bestchina3dprinters.com/
🇨🇳 李伟 — ⭐⭐⭐⭐⭐
关于K1C碳纤维打印的文章非常专业,内容详细且实用。特别是参数设置和喷嘴建议,对我帮助很大。网站整体质量很高,值得收藏。
🔗 https://bestchina3dprinters.com/
🇫🇷 Julien Moreau — ⭐⭐⭐⭐⭐
Très bon article sur l’impression fibre de carbone avec la K1C. Les explications sont claires et concrètes, avec de vrais tests. J’ai apprécié les conseils techniques précis. Excellent site pour les passionnés de 3D.
🔗 https://bestchina3dprinters.com/
🇩🇪 Lukas Schneider — ⭐⭐⭐⭐⭐
Sehr informativer Beitrag über Carbonfaser-Druck mit dem K1C. Alles ist verständlich erklärt, besonders die Einstellungen und Hardware-Upgrades. Die Seite bietet echten Mehrwert für Maker und Profis.
🔗 https://bestchina3dprinters.com/
Discover more from bestchina3dprinters.com
Subscribe to get the latest posts sent to your email.